So Google has launched Google+ Pages. And you have read my earlier post and would like to have one. Great. But how do you do it? Read on, I will tell you how. (Click any image to see a larger version.)

First off, you need to find the “Create a page” button which Google cleverly hid on the right side of your screen. If you scroll down, you will find it below your hangouts button. Click that and you are on your way towards making your Google Plus Page.
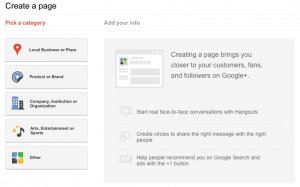
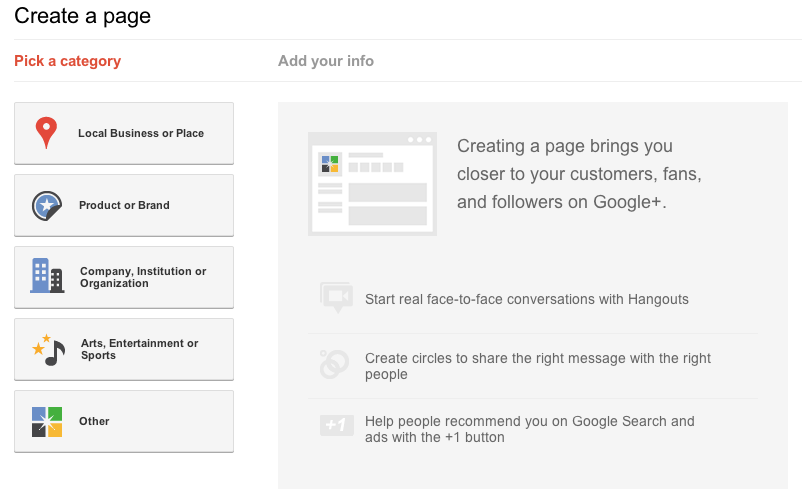
As a start, you will see a familiar page setup. If you have ever made a Facebook page, you will recognize this. The page gives you five choices.
- “Local business or Place” where you can register if you are a business with a local focus such as hotels, restaurants, places, stores, services etc.
- “Product or Brand” where you can register if you have a clear brand like Coca Cola, or if you are are selling things like apparel, cars, electronics, financial services etc.
- “Company, Institution or Organization” where you can register if you want to build a page for your company, organization, institution, non-profit or to promote your organization as a whole.
- “Arts, Entertainment or Sports” where you can register if you are involved in or want to promote things like movies, TV, music, books, sports, shows and whatever else you can think of that falls into this category.
- “Other” where you can register if your page doesn’t fit in another category.
After making that choice, your next step is to add some basic information. For this example, I will be making a page for my company Relationists. Some of the fields you will have to fill out might be different depending on the category you choose. When you do a local business you need to fill out your location first for example. Other categories follow more or less the same lines as this example will.
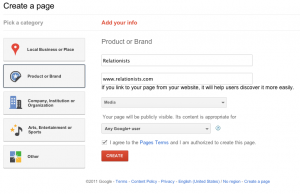
After you have made your choice for a category, you get to name the page and link it to a website if you have one. You can also pick the category the page will be active in and who is able to see it. Check the “I agree to” button after reading the Pages Terms and click create.
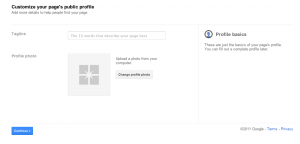
You will then be taken to a new screen to customize your public profile. Here you can write your tagline. This is the line that is put underneath the title of your page. You can also add a profile photo.
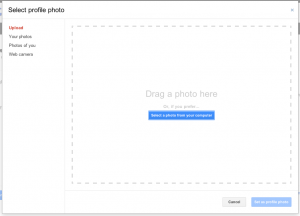
After you click the Change profile Photo button you will be taken to an upload screen. In true Google form you can drag a picture from you computer onto the screen to set it as your profile photo.
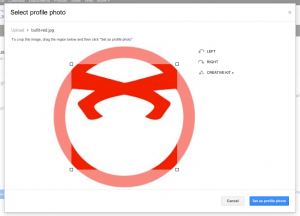
After you have added a picture, you will be able to do some basic editing. Make sure your photo is square or you might loose parts of it.
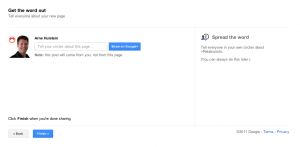
With the photo on the page, you now get the option to spread the word. You can skip this if you like. There are more possibilities to do this once the page is finished.
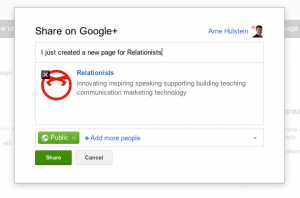
When you do want to share it now, you get a popup that you can put your message in. After sharing, click finished on the bottom of the page to continue.
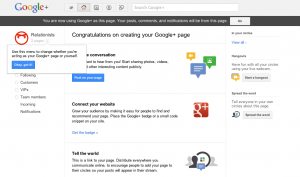
Congratulations, you have just made a page. But it is not finished yet. Amongst other things, there is nothing to see there. So, it is time for a first post.
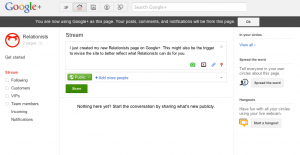
The first posts works like any other post in Google Plus. You can type, add links etc. and choose the circles to share it with. Please keep in mind that circles for pages work slightly differently. You can only add people to the circle of your page after they have added your page to their circles. A good thing is the flawless switch between using Google Plus as a person or as a page.
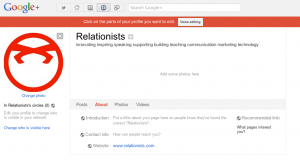
Now you are ready to edit your profile. Make sure you are using Google Plus as your page and you will see a new button appear on the right side of the screen. It says edit profile and that is what it does. Here you can edit the About, Photos and Videos pages.
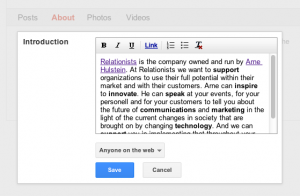
Adding an introduction to your page is easy enough. Just a text field with limited layout options, but enough to make a nice introduction. After adding the introduction, make sure that you add ways for people to reach you. Your page is only as good as the options are for people to get in touch with you.
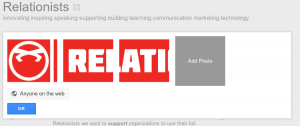
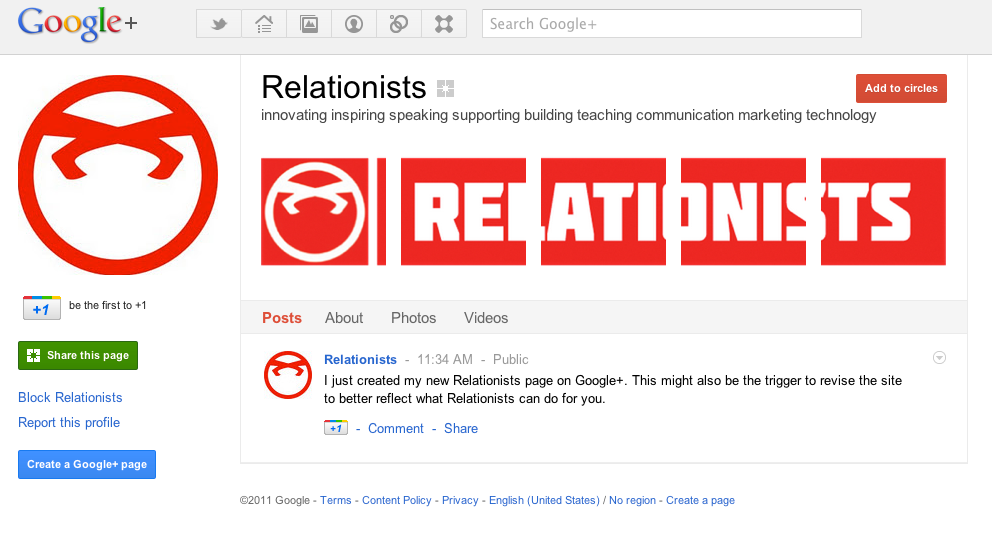
At the top of the edit profile page you can also add a photo bar. A nice feature which we have seen at Facebook before. Here you can add five photos that will be shown as 125×125 pixel squares. Just click the photo bar to enter edit mode and you will be able to add individual pictures. Creating a continuous bar is easy when you know that the width of the whole area is 685×125 and that every picture is separated by 17 pixels. You can use my example cutout to create your own bar in your own image editor.
Click ok, stop editing and your page is ready to go. Enjoy. But do not leave it at this. Your page should be personal and active. Add to your stream and get people involved in hangouts etc. Only then will your page reach its maximum benefit.
 Yes, Google has added pages to Google Plus. And even though you might think that this is not that big a deal, I think it could have a lot more impact than you think.
 Last night Google launched their new version of Android and the new Android flagship phone, the Galaxy Nexus. Naturally the phone is all you would expect of a new smartphone with dual core processors, great screen etcetera. However, last night was all about Android and just a little about the phone.
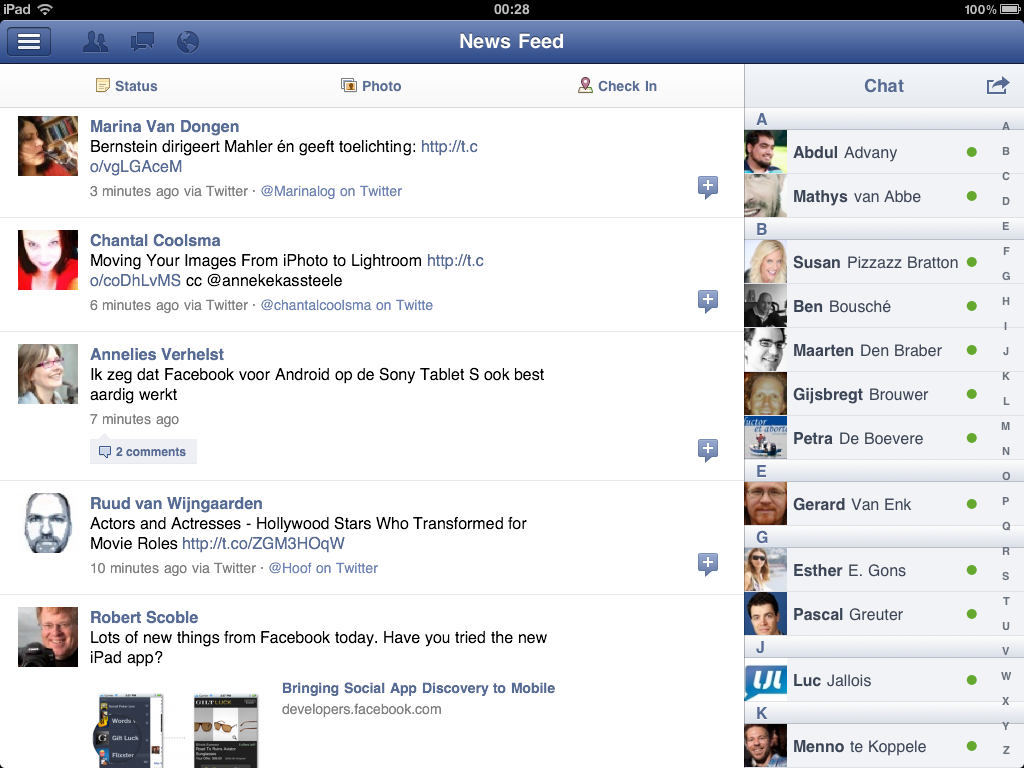
 Today Facebook has finally launched its long awaited iPad app. There were rumors that it was postponed until the Apple iPhone 4S presentation last week, because it would be so wonderful. Well, to put it bluntly, I know why they did not show it. Yes, it is nice, yes it is by Facebook, but no, it is not shocking.
 Half the internet world talked about the passing of Steve Jobs. There is a lot that can be said about him, but most people agree that he has had a profound influence on the technology we use today. I have never met him in person -and I bet most others that wrote about him never did either. However, through articles I have read about him, I got the feeling that he was a person who knew how to ask the right questions at the right time.

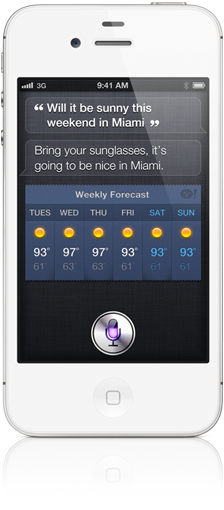

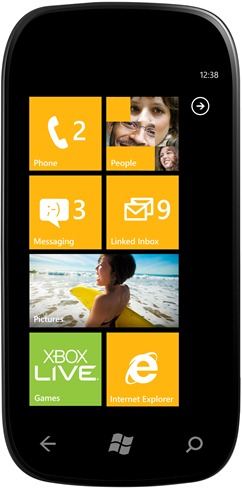
 Earlier tonight Microsoft has started to release the new Mango version of Windows Phone to its customers. If you are running a Windows Phone, it is probable that you will need to be patient as they hope to be releasing Mango to 10% of its customer base today. They will be taking weeks to update all of the handsets and carriers that are currently offering phones running WP7.
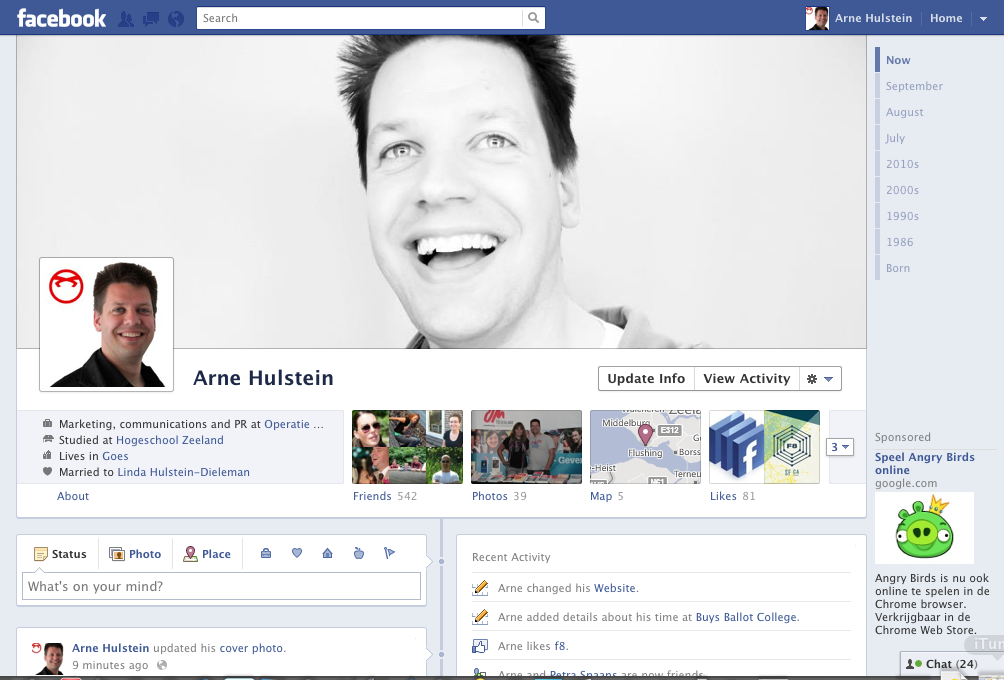
 I love the future. I have loved it ever since I started reading. Technology is shaping our future fast. Back in 1985 I wrote my first computer program. Back in 1994 I launched my first website and I have been working with organizations on integrating new technology ever since.